| Note: Message forwarding templates are typically added by developers. |
To add a message template for event forwarding, proceed as follows:
1.On the WebOffice menu, select Cale Support > Message Forwarding > Message Forwarding Templates. The existing message templates are displayed.
2.Click . The following page is displayed:
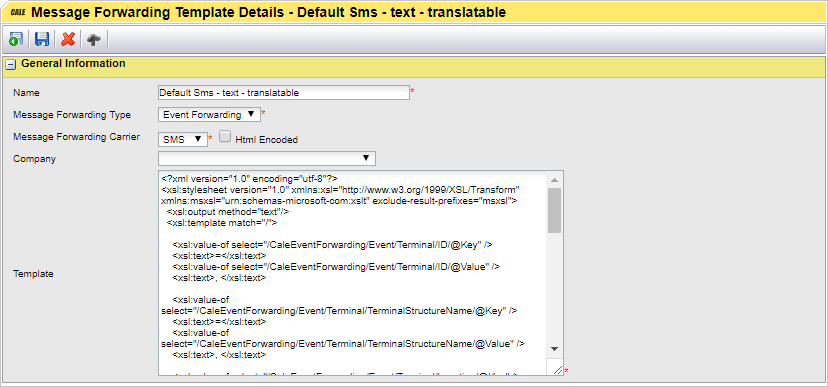
3.In the Name text field, enter a name that identifies the message template.
4.In the Message Forwarding Type select the type of message forwarding:
○Event forwarding
○Purchase receipt. See Purchase Receipt Template Fields
○Purchase Reminder. See Purchase Reminder Template Fields
○Wallet Reset Pin
5.In the Message Forwarding Carrier list box, specify the carrier type:
○SMS
When Purchase Receipt and Email are selected, the user can specify if they want the PDF receipt to be attached to the email and they can specify the email subject and overwrite the default.
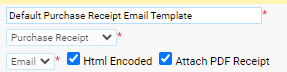
6.If the template is designed for e‑mail, and includes HTML capabilities, select the Html Encoded checkbox.
7.Write your XSL Code or copy it from another source (see chapter below for a short explanation on the XSL syntax used)
8.Click  to save your changes and return to the previous page.
After having added a new message template, it becomes available in the Message Forwarding Template section on the Company Details page. This page is accessed by selecting Cale Support > Company Management > Companies on the WebOffice menu.
| Note: It is possible to do some changes to the output of the template by using C# scripts in the XML template. E.g. this allows you to change the format of the time stamp. This feature is explained in Using C# scripts |