Edit a parking Zone.

If a zone exists, then that zone will be displayed with drag-able dots (also called node) on each corner and greyed out dots in-between.
|
Drag the map. |
|
Draw a polygon. |
|
Draw a square. |


•White dots with a black circle are existing corner nodes.
•White dots with a grey circle are available on the lines between corners and can be used to create new corners.
Add a zone by clicking the Polygon or rectangle edit icon and click outside an existing zone.
A new corner node will appear. A line is connected to the node, so you can follow any guidelines like roads on the map to place the next corner.
when finished, click on the first node to close the zone.

Click “Save” in the toolbar when you are finished.
To cancel the edit, just refresh the page.
| Note: Save your work before navigating to another tab. Save your work before leaving your seat as the changes will be lost when you are auto logged out from WebOffice. |
Flowbird GO ANPR integration
The parking session section is used for integration with Flowbird GO ANPR
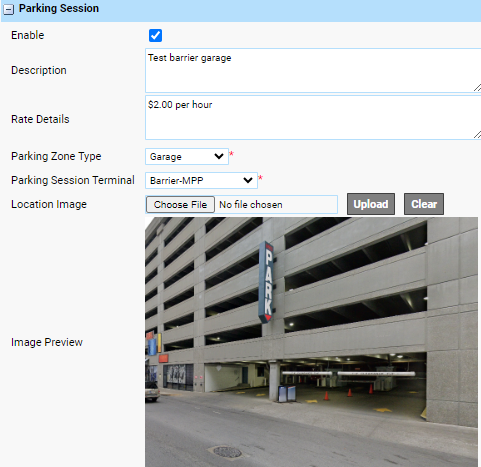
For this, you must have configured a Parking Session Terminal and have the following licences activated:
•Parking Session
•Purchase Prerequisite
•Online Purchase Transfer
| See the How to set up External Payments guide Chapter Flowbird GO for complete details |
Create a new parking zone.
When creating a new parking zone, you will get the option to insert a Latitude and longitude or navigate to your location by clicking the [Show My Location] button.
When using the Lat/Long, the map will be centred when all information is available.
| Note: [Show My Location] depends on the GPS, Mobile masts or servers near you and may be inaccurate. |
Deleting a Zone from a Parking Zone.
To delete a zone left click in the zone.
