To add a news item to a global news gadget, proceed as follows:
1.Click . The News Details page is displayed:
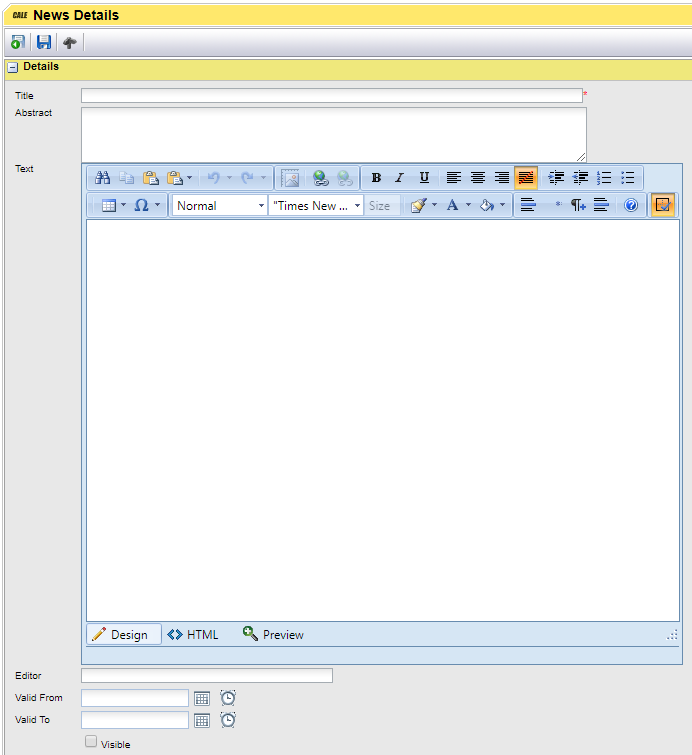
1.In the Title field, enter the news title.
In the news gadget, the title is displayed as a hyperlink, linking to the full text content of the article. Considering that a gadget typically has a width of only 250 pixels, the title should be kept short to avoid line breaks.
2.In the Abstract field, enter a summary of the article. The abstract serves to entice readers to proceed and read the full story. Only the title and abstract are shown in the gadget along with the publishing date. The full text is displayed on a new page when clicking the article’s title.
3.In the text editor, enter the full text content of the article. To add formatting to the text, insert web links or tables etc., use the buttons on the editor tool bar.
4.In the Editor Field, enter your name. The name you enter will be visible at the bottom of the published full text.
5.If you want to publish the article at a future point in time, select the desired values using the date and time controls in the Valid From field. By leaving the Valid from field empty, the article will be published immediately upon saving the article details.
6.If you want the article to disappear automatically from the global news gadget at a certain point in time, select the desired values using the date and time controls in the Valid To field. If you leave the field empty, the article will remain visible in the global news gadget until newer articles fill the available display area of the gadget. The current article will then be pushed into the news archive, accessible to users by clicking the News Archive link at the bottom part of the gadget.
7.If the article should not yet be visible in the gadget, clear the Visible check box. This setting overrides any settings in the "Valid From" and "Valid To" fields.
8.Click  to save your changes and return to the previous page.