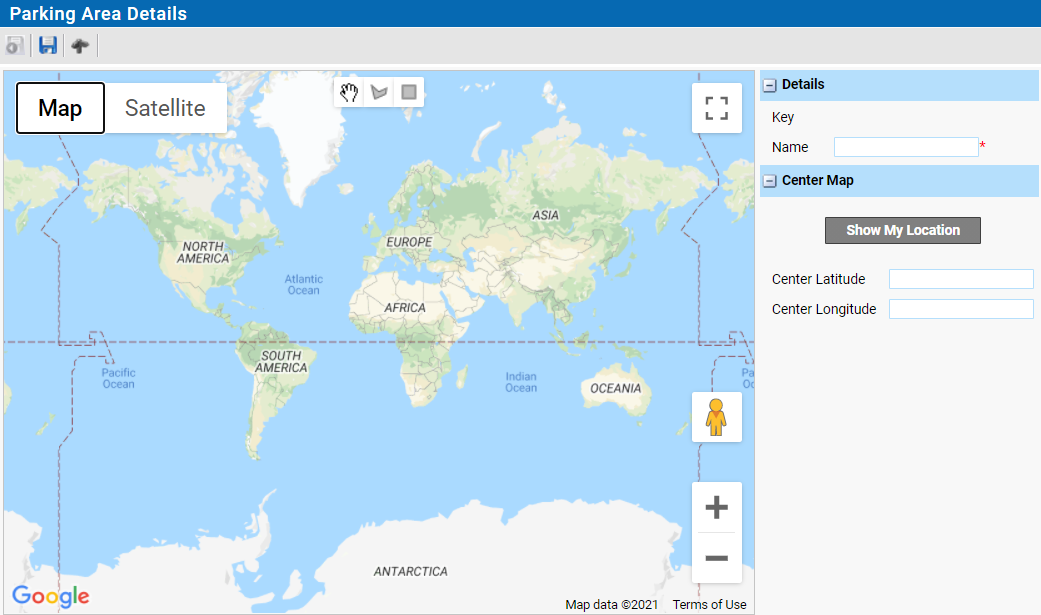
 When creating a new parking area, you will get the option to insert a Latitude and longitude or navigate to your location by clicking the [Show My Location] button.
When using the Lat/Long, the map will be centred after clicking the [Show My Location] button.
If no Latitude/longitude is entered, the map will be centred as best as possible with the Internet or mobile data available.
| Note: [Show My Location] depends on the GPS, Mobile masts or servers near you and may be inaccurate. |
When creating a Parking Area, you will get an empty world map.
1.Assign a name.
2.Zoom in to the area you want to create an area. It is possible to add more than one shape to the area map thus grouping more parking lots to one area.
3.Click the polygon to go into edit mode. The cursor changes to a cross-hair.
4.Click on a corner on the border of the area. An open circle will appear.
5.Click on the next corner. A line with 2 white circles and a greyed out on will appear.
6.Continue to create lines until you reach the last corner. Click on the first corner to close the polygon.
7.Click “Save Zone” to save the shape.
| Note: Make sure to finish your work before leaving your seat as your changes will lost due to an automatic logout. |