To create a view, follow the steps listed below:
1.Click the  button to open the Filter area.
The Filter area is expanded in the upper part of the page:
2.Select the desired filter criteria. For detailed information about how to use the filter operators, see Filter field types.
3.Optional, re-order, add and/or delete columns.
4.Click Apply. The list is filtered according to your filter criteria.
5.Click Save to save your view.
6.The following dialogue is displayed:
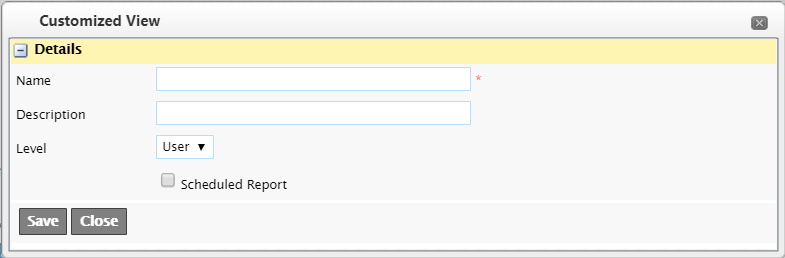
7.Enter a name and description of the filter. This will help you recognize the filter’s function the next time you want to use it. The description will be visible when you hoover with you mouse over the selected filter in the drop-down box.
8. If the License for Scheduled Reports is activated, you will have the option to schedule a report based on the filter. Checking the check box “Scheduled Report” opens an additional section where you can set the rules for the scheduled report.
9.In the Customized View Type list box, select User. If you are a customer Administrator, you may select the Company option to make the filter available to all WebOffice users in your company.
10.Click Save.
Saved filters can be selected in the Customized Views list box next time you visit the page.

| Note: The next time you display the list it always displays the information using the last applied filter unless the page uses enforced filtering. To clear the filter, click the Clear Filter button  . . |
Sign |
Description |
|---|---|
|
The warning sign alerts you that the list is filtered. This sign is only displayed if the filtering options differ from the default filtering on a page. If you only re-order or add or delete columns without changing the actual filtering the sign will not be displayed when using a View. |
* |
The star displayed behind the name of a View has 2 meanings: •The view is dirty. This means that you have made changes that are not saved. After saving the View, the star will disappear. You can undo any change by clicking the Undo button •The selected view is an old filter made before WebOffice 2.17 and has no layout information. A warming is shown to remind you to re-save it. |

 .
.