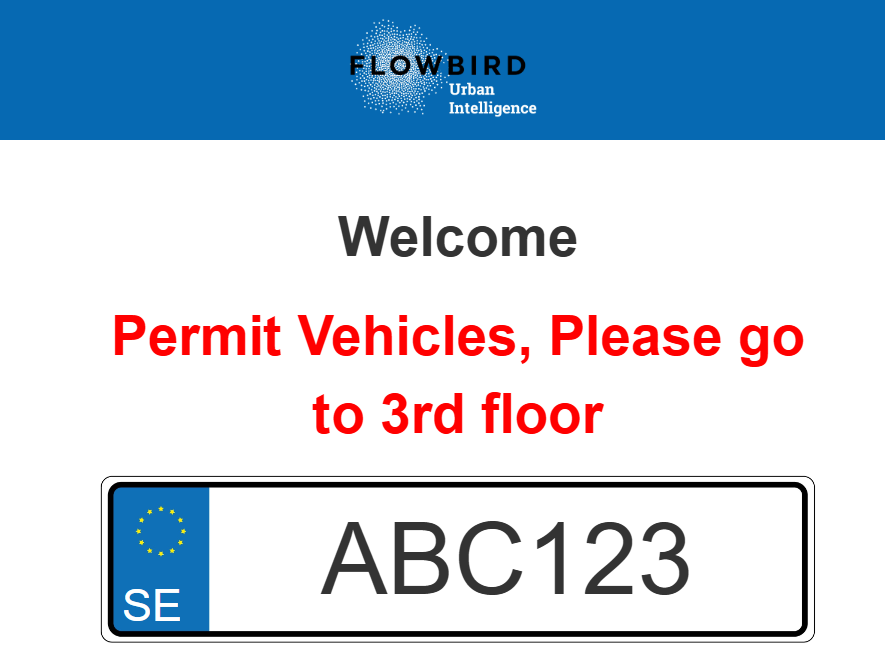
This example shows how to guide vehicles to a pre-defined place using infoscreen templates
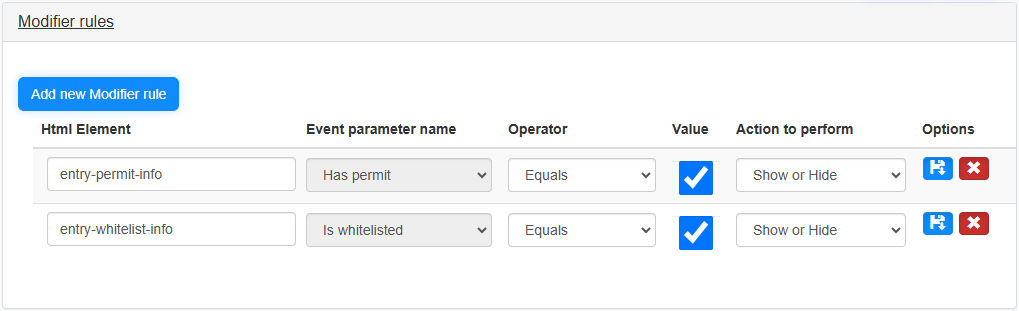
Set the rules according to the image below
In the Template editor
•Select the Entry tab
•Replace the default code with the code below
The div elements entry-permit-info or entry-whitelist-info will be displayed if the vehicle is registered as having a Permit if it is white-listed.
If a vehicle does not have any of these values these div elements will be hidden.
You can make the message stand out more by using a CSS rule for each div id
<nav class="navbar navbar-inverse navbar-fixed-top">
<img id="logo" class="flow-logo" src="/images/flowlogo.png" alt="Flowbird GO" />
</nav>
<div class="container body-content">
<div class="occupancy-message" id="occupancy" style="display: none"></div><div class="center">
<div class="column column-1">
<div class="message" id="header">Welcome</div>
</div>
<div class="entry-permit" id="entry-permit-info" style="display: none">
<div class="message">Permit Vehicles, Please go to 3rd floor</div>
</div>
<div class="entry-whitelist" id="entry-whitelist-info" style="display: none">
<div class="message">Whitelisted Vehicles, Please go to 4th floor</div>
</div>
<div class="column">
<div id="container-lp" class="licensePlate">
<span id="cc">{{CC}}</span>
<span id="licensePlate">{{Plate}}</span>
</div>
</div>
</div>
</div>
CSS example setting
This setting will display the message in red
.entry-permit {
display: flex;
align-items: center;
font-size: 45px;
font-weight: bold;
color: red;
}
Preview