The spanner allows you to select the columns (or fields) to display on the list page. It also allows you to select one or two columns to sort.
| Note: After setting the sort order for two columns using the spanner and then clicking a column header will sort the newly clicked column and replace the sort order set in the edit setting pop up. |
Click the  button on the window’s title bar to display the Edit Settings window.
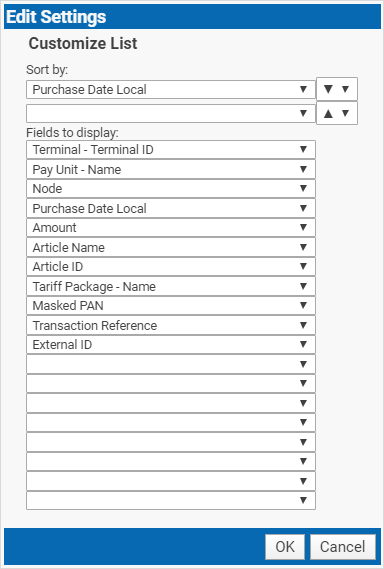
Customize the list view as desired:
Sort by: Select an item in the top list box. Then select ascending ( ) or descending (
 ) sort order. If the list should also be sorted on a secondary item, select this item in the next list box along with the desired sort order.
Fields to display: Example: If you want Terminal ID as the leftmost column in the list, select Terminal ID instead of PayUnit – Name in the top list box under Fields to display.
Click OK to save your settings. The layout you have selected during the current session will be used when you visit the page the next time.
| Note: The layout will be reset when you click the Reset Form Layout link in the top right corner of the page. |
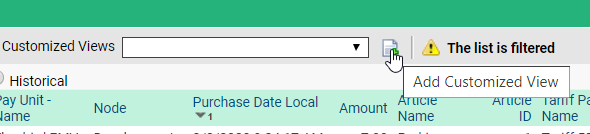
Saving a customized view.
To save the layout for later use you can click the Add Customized View button. see Creating a Customized View.
After saving a view you can change the layout of the list page later and go back to the saved view when needed.
This layout will be available even after you reset the form layout.