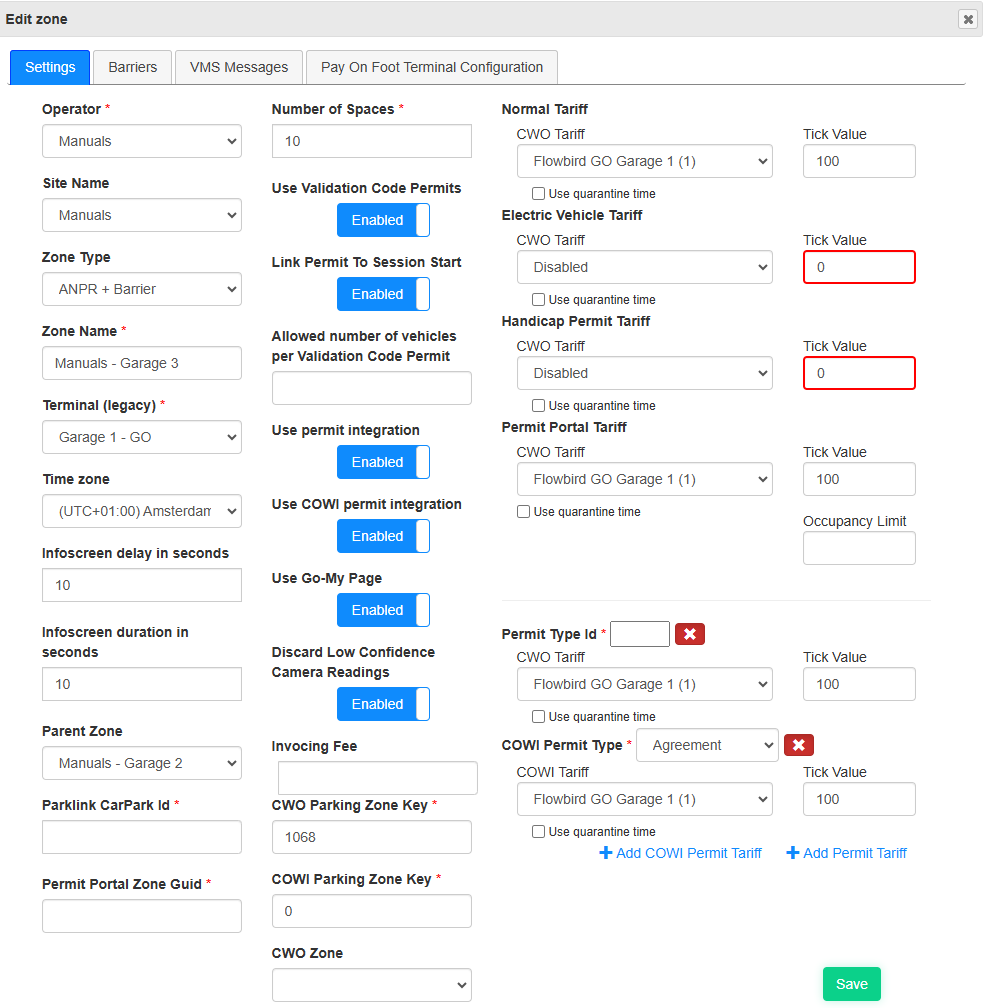
| Note: Some fields depicted depend on settings on both this page and the Operator page. |
•Select the operator
•Optional: Select a Site
•Select the Zone Type
•Set the Zone name
•Select a terminal (legacy). This list is populated with terminals from WebOffice with the terminal type "External Terminal"
| When you also have a license for Permit, both the Permit terminals and Flowbird GO - ANPR terminals will be listed in the drop-down list. It is technically OK to use one terminal for both. But for statistics and reporting, we recommend to use separate terminals and name them in a clear way. E.g., Flowbird GO - ANPR - garage 1. |
•Select the time zone for the Zone
•Set the Infoscreen delay in seconds. This will delay the update of the Infoscreen with the set number of seconds.
This is used when the display is some distance away from the camera.
•Set the Infoscreen duration in seconds to give the parker time to read the message.
•Optional select a Parent Zone. This makes it possible to override some of the settings from the parent for a specific area of the parent zone. E.g., Do not allow Permit parking in the parent Zone but do allow this in the child zone or assign a specific part of the parent zone for Handicap parking with a different tariff.
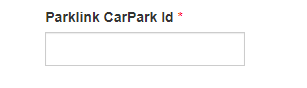
•If Parklink is enabled in the Operators page than set the Parklink CarPark ID. The Car park id is a mandatory setting to be able to start any session in Parklink, this is a setting that the operator needs to set per each zone which should use parklink.
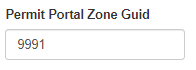
•The "Permit Portal Zone GUID" must be set for zones that will use the feature "Allow Only Permit Portal Sessions" set in the Operator.
If the ‘Permit Portal Zone Guid’ setting is not set to a valid Zone Guid in Permit, or if the license plate is not registered in the Permit Portal, or we for some other reason cannot create a session in the Permit Portal, we will create a ANPR session in the Flowbird GO - ANPR portal.
See Operator settings for activating this setting.
See also "Use GO-My page" listed below.
•Optionally set the number of spaces for Occupancy calculation.
If you set the Number of spaces, you can display this on the Infoscreen via the Infoscreen Editor.
•Enable the "Use validation Code Permits" to allow for registration of free parking hours from e.g., shops by means of Permit coupons. These coupons are registered in Permit by the company handing them out. This solution is called "Permit Lobby" or "Kiosk" in Permit. The duration of these permits is set when configuring Permit.
oAfter enabling, the "Link Permit to session start" option becomes available.
| Read the WebOffice Configuration Guide for Permit for how to set up the Permit Lobby using a Tokenized portal user. |
Without the "Link validation code to session start", the free time is calculated from the time the free coupon is registered.
E.g., a vehicle enters the garage at 14:00. They get a free coupon at 14:30 for 1 hour.
When leaving the garage at 15:15 the final fee is calculated as follows:
14:00 to 14.30 paid
14:30 to 15:30 free
Enabling the "Link validation code to session start" moves the free time from the coupon to the beginning of the parking session:
In this example, it gives the first hour free
14:00 to 15:00 free
15:00 to 15:15 paid
oAllowed number of vehicles per Validation Code Permit lets you set the number vehicles that can use a validation code permit
•Optionally Enable Use Permit integration.
This will activate the integration with Flowbird Permit for this zone. If a Permit tariff is set, the parker will get a reduced tariff and will pay via Permit if they have a card registered.
Enabling this setting will make it possible to create sessions in the Permit Portal provided that the ‘Permit Portal Zone Guid’ is set. When a session is created in the Permit Portal, a session with type PermitPortal will also be created in Flowbird GO - ANPR.
Permit Portal Zone Guid. If the ‘Permit Portal Zone Guid’ setting is not set to a valid Zone Guid in Permit, or if the license plate is not registered in the Permit Portal, or we for some other reason cannot create a session in the Permit Portal, we will create a ANPR session in the Flowbird GO - ANPR portal.
This feature can be combined with "Allow Only Permit Portal Sessions" in Operators. Enabling this setting will display 2 additional groups of fields:
When this option is activated two additional fields will become available after clicking "Add Permit Tariff":
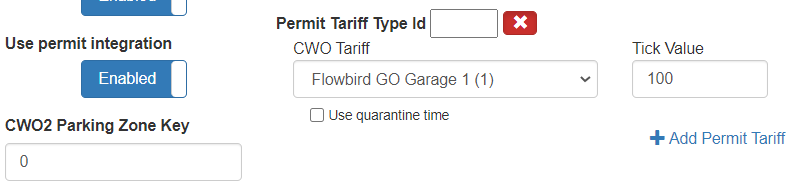
Both fields must be set.
oCWO2 Parking Zone Key. Retrieve this Value from the Permit Zone in WebOffice.
The permit system will be checked each time a vehicle enters the zone. If the vehicle has a valid permit they will be given free parking.
oPermit Type ID. This is an identifier from the permit system and indicates the type of permit.
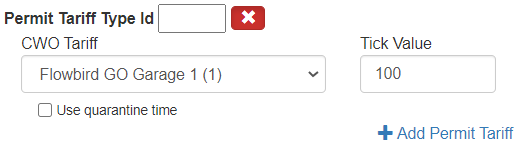
▪Set the type ID
▪Select the corresponding CWO Tariff
▪Set the corresponding tick value
▪Optionally check the Quarantine check box
A tariff must be added for each type of permit available for this Zone. Click the "+ Add Permit Tariff" link to add one.
A tariff can be removed using the red X button.
•Optionally Enable Use COWI permit integration.
This will activate the integration with COWI Permit.
When this option is enabled, two additional fields to configure for Permit will become available:
Click the "Add COWI Permit Tariff" to add one or more Permit types to the zone.
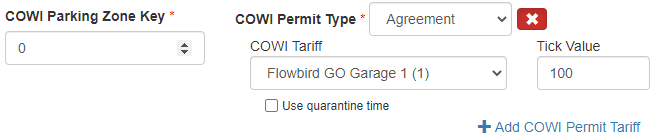
Both fields must be set.
oCOWI Parking Zone Key. The id of the zone in the COWI Database. Both this ID and the name of the database are used to find the correct zone.
The COWI permit system will be checked each time a vehicle enters the zone. If the vehicle has a valid permit, they will be given free parking.
oCOWI Permit Tariff Type. This is an identifier from the permit system and indicates the type of permit.
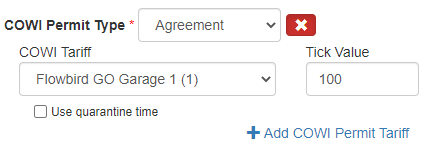
▪Select the COWI Permit Type
▪Select the corresponding COWI Tariff
➢Agreement
➢ActivePark
➢Whitelist
➢StuddedTires
➢DisabledPermit
▪Set the corresponding tick value
▪Optionally check the Quarantine check box
•Optionally, enable Use GO-My page
Renamed from "Use Permit Portal"
Enabling this setting will make it possible to create sessions in the Permit Portal provided that the ‘Permit Portal Zone Guid’ is set.
When a session is created in the Permit Portal, a session with type PermitPortal will also be created in Flowbird GO - ANPR.
This setting uses the "Permit Portal Zone GUID" described above.
Enabling this setting will display an additional field:
oPermit Portal Tariff. Enabling this setting will add a option to add a special Permit Portal Tariff and a occupancy limitation for which that tariff should be used.
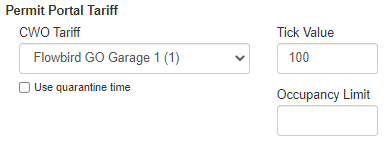
The Permit Portal specific Tariff will be applied to all cars registered in the Permit Portal when the vehicle enters the garage and as long as the occupancy of Permit Portal registered vehicles is below the tariff limitation.
▪If the occupancy of Permit Portal registered vehicles is above the tariff limitation all vehicles entering the garage will get charged the normal tariff.
▪When vehicles leave and the occupancy of Permit Portal registered vehicles gets below the tariff limitation, the next vehicle registered in the Permit Portal will get charged with the Permit Portal tariff.
▪If a vehicle that is not registered to permit portal drives into the garage this will start a ANPR session and it will increase the occupancy. This will not increase the occupancy of Permit Portal registered vehicles.
•Optionally, enable "Discard Low Confidence Camera readings" to discard them and save only as blocked camera readings. This will be very useful in case a barrier only opens for high confidence requests as validation in future does not make sense as long as the vehicle cannot enter the zone.
•When the "Riverty - Collective Invoice" invoice type is selected in Invoicing settings in Operators, you can set an Invoicing fee.
•CWO Parking Zone Key: See Use Permit integration above in this chapter
•Select a CWO Zone.
The CWO Zone is used to connect the Barrier Session to a specific zone,
This fields is only visible if you activated the Parking Session check-box in the Parking Zone Details in WebOffice.
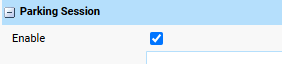
| See Terminal Administration -> Parking Zone Details in WebOffice |
•Select a normal tariff. This list is populated from WebOffice.
Optionally check the Quarantine check box.
oSet a tick value for the Tariff
•When the operator Country is Norway, two additional tariffs and an additional link become available.
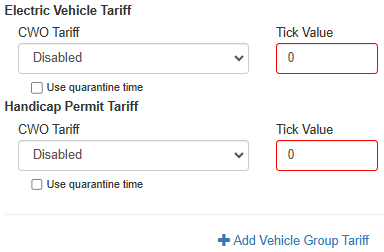
oElectrical Vehicle Tariff.
▪Select the CWO Tariff for this Zone (See WebOffice Permit configuration) and set its tick value
oHandicap Permit Tariff
▪Select the CWO Tariff for this Zone and set its tick value
oOptionally check the The Quarantine check box for any of the tariffs.
oClick the link "Add Vehicle Group Tariff" to add a tariff for a specific vehicle group.
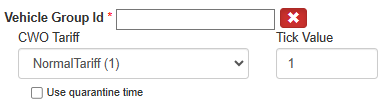
▪Set the correct Vehicle group ID. E.g., 106 for ambulances.
▪Select the CWO tariff and tick value
Use Vehicle Register Service to find the Vehicle Group ID for a specific license plate.
•When using barriers update the settings in the Barriers tab
•Save the record